https://paulswith.github.io/2018/02/24/%E8%BF%81%E7%A7%BB%E5%AD%A6%E4%B9%A0InceptionV3/ 上文记录了如何从一个别人训练好的模型, 切入我们自己的图片, 改为我们自己的模型.
本来以为移植到手机很简单, 但是不简单的是我的模型本身就是迁移学习别人的模型,有很多莫名其面的坑, 在CoreML经历了N个坑后,1点14分我搞掂了.
项目源码和转换源码已经上传到git.
https://github.com/Paulswith/machineLearningIntro/tree/master/classification_101
转化为mlmodel
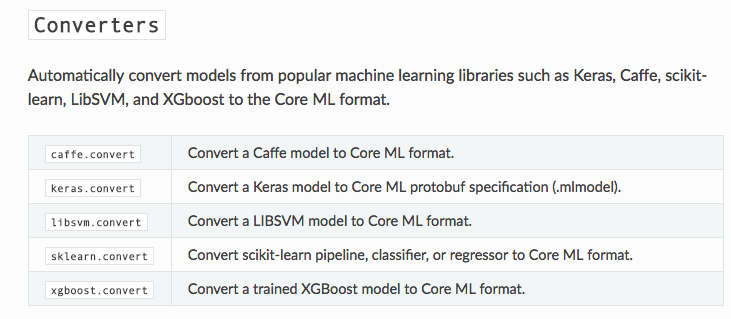
说说转换为mlmodel的工具有两个:
接着往下看:
是否是graph-pb?
如果你跟我一样, 训练的模型, 从tensorflow的代码保存下来的, 调用的:
1
2
3
4
5
|
saver.save(sess, MODEL\_SAVEPATH, global\_step=50)
|
它并不会保存出一个pb文件, 其中的.meta也需要其他方式转换似乎也可以, 我没有尝试过.
用这个方法, 你需要在上方代码的下面加两行,就可以继续:
1
2
3
4
5
6
7
|
if i %SAVE\_EPOCH == 0:
tf.train.write\_graph(sess.graph, MODEL\_SAVE\_DIR, 'model.pbtxt')
|
pdtxt固化为pd
操作参考链接https://www.jianshu.com/p/091415b114e2
我是直接使用的bezel, 编译tensorflow源码后, 直接使用, 其中参数跟着填, 需要注意的是output_node:

导入化图
导入图和查看图的节点信息:
如果你的图不属于pb文件, 那么就会在导入图的时候报错的.
1
2
3
4
5
6
7
8
9
10
11
12
13
14
15
16
17
18
19
20
21
22
23
24
25
26
27
28
29
30
31
32
33
34
35
|
1

2
3
4
5
6
7
8
9
10
11
12
13
14
15
16
|
1
2
3
4
5
6
7
8
9
10
11
12
13
14
15
16
17
18
19
20
21
22
23
24
25
26
27
28
29
30
31
32
33
|
with open(TF\_MODEL\_FILE, 'rb') as f:
serialized = f.read()
tf.reset\_default\_graph()
original\_gdef = tf.GraphDef()
original\_gdef.ParseFromString(serialized)
##2 可以在这里查看到全部的图信息(前提是你有转换成功)
with tf.Graph().as\_default() as g:
tf.import\_graph\_def(original\_gdef, name='')
ops = g.get\_operations()
try:
for i in range(10000):
print('op id {} : op name: {}, op type: "{}"'.format(str(i),ops\[i\].name, ops\[i\].type))
except:
print("全部节点已打印完毕.")
pass
|
预处理节点
其实这一步个人不是很清楚很知道它做了什么,但确是不得不做的. 最后的大小看着也不像是”减包”
需要注意两点:
input_node_names: 这里填写的节点从上方的代码可以打印看得到的, 实际在训练模型的时候, 我们直接喂图片的节点是在”import/DecodeJpeg/contents”, 而这里”必须是import/Mul”.
output_node_names: 因为模型是剪切拼接的, 这跟tensorflow直接调用是一样的节点.
最后生成一个完整的pb文件.
1
2
3
4
5
6
7
8
9
10
11
12
13
14
15
16
17
18
19
20
21
22
23
24
25
26
27
|
1
2
3
4
5
6
7
8
9
10
11
12
|
1
2
3
4
5
6
7
8
9
10
11
12
13
14
15
16
17
18
19
20
21
|
input\_node\_names = \['import/Mul', 'BottleneckInputPlaceholder'\] \# 本来以为是import/DecodeJpeg/contents, 实际上是Mul(tfcoreml-git上说的)
output\_node\_names = \['import/pool\_3/\_reshape','final\_train\_ops/softMax\_last'\] \# 想要保存的节点 , 'final\_train\_ops/softMax\_last'
gdef = strip\_unused\_lib.strip\_unused(
input\_graph\_def = original\_gdef,
input\_node\_names = input\_node\_names,
output\_node\_names = output\_node\_names,
placeholder\_type\_enum = dtypes.float32.as\_datatype\_enum)
with gfile.GFile(FROZEN\_MODEL\_FILE, "wb") as f:
f.write(gdef.SerializeToString())
|
开始转换
input_tensor_shapes: 是placeholder 和 input节点, 方括号的第一个参数是batch大小,代表一张一张的喂给它. 字典里面这两个, 对应生成后的InceptionV3_input的两个属性.
output_tensor_names: 训练后得到的节点, 对应生成后的InceptionV3_output的两个属性
1
2
3
4
5
6
7
8
9
10
11
12
13
14
15
16
17
18
19
20
21
22
23
24
25
26
27
28
29
30
31
32
33
34
35
36
37
|
1

2

3

4

5

6

7

8

9

10

11

12

13

14

15

16
17
|
1
2
3
4
5
6
7
8
9
10
11
12
13
14
15
16
17
18
19
20
21
22
23
24
25
26
27
28
29
30
31
32
33
34
35
|
input\_tensor\_shapes = {
"import/Mul:0":\[1,299,299,3\], \# batch size is 1
"BottleneckInputPlaceholder:0":\[1,2048\],
}
output\_tensor\_names = \['import/pool\_3/\_reshape:0','final\_train\_ops/softMax\_last:0'\]
\# Call the converter. This may take a while
coreml\_model = tfcoreml.convert(
tf\_model\_path=FROZEN\_MODEL\_FILE,
mlmodel\_path=COREML\_MODEL\_FILE,
input\_name\_shape\_dict=input\_tensor\_shapes,
output\_feature\_names=output\_tensor\_names,
image\_input\_names = \['import/Mul:0'\],
red\_bias = \-1,
green\_bias = \-1,
blue\_bias = \-1,
image\_scale = 2.0/255.0)
|
上方具体的参数可以在方法看得到,后面四个参数就是我们输入图片时候的均值化, 还有个特殊的参数class_labels, output后的模型可以直接索引到标签, 但是在实践过程中, 我这个本身是迁移别人的学习的模型并起不到作用.
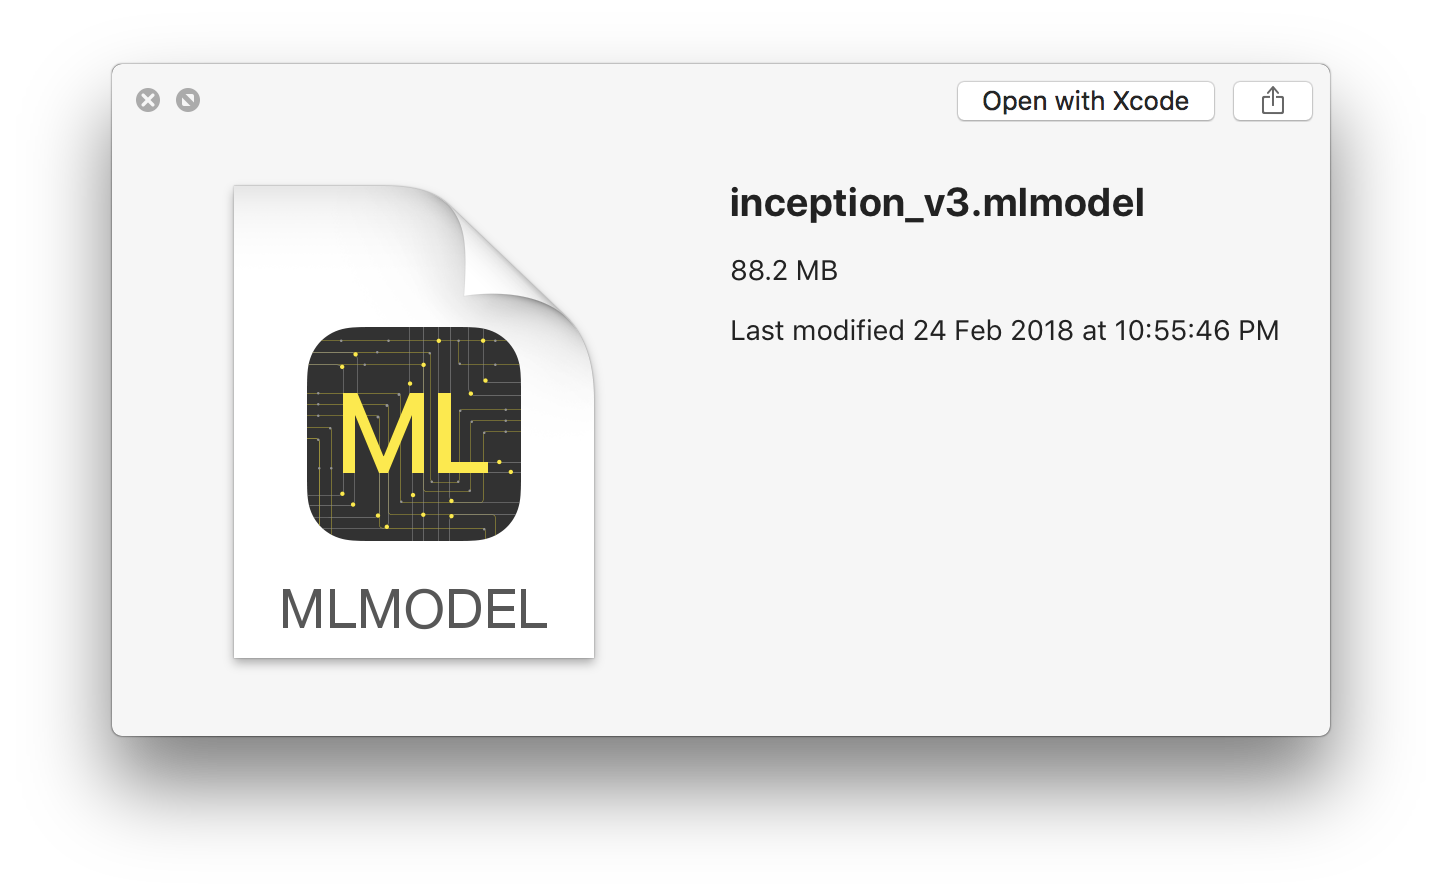
执行完成后生成文件:
ios-code调用
了解模型:
首先, 直接将inceptionV3.mlmodel拖入到工程:
导入头文件, inceptionV3.h, 点开查看:
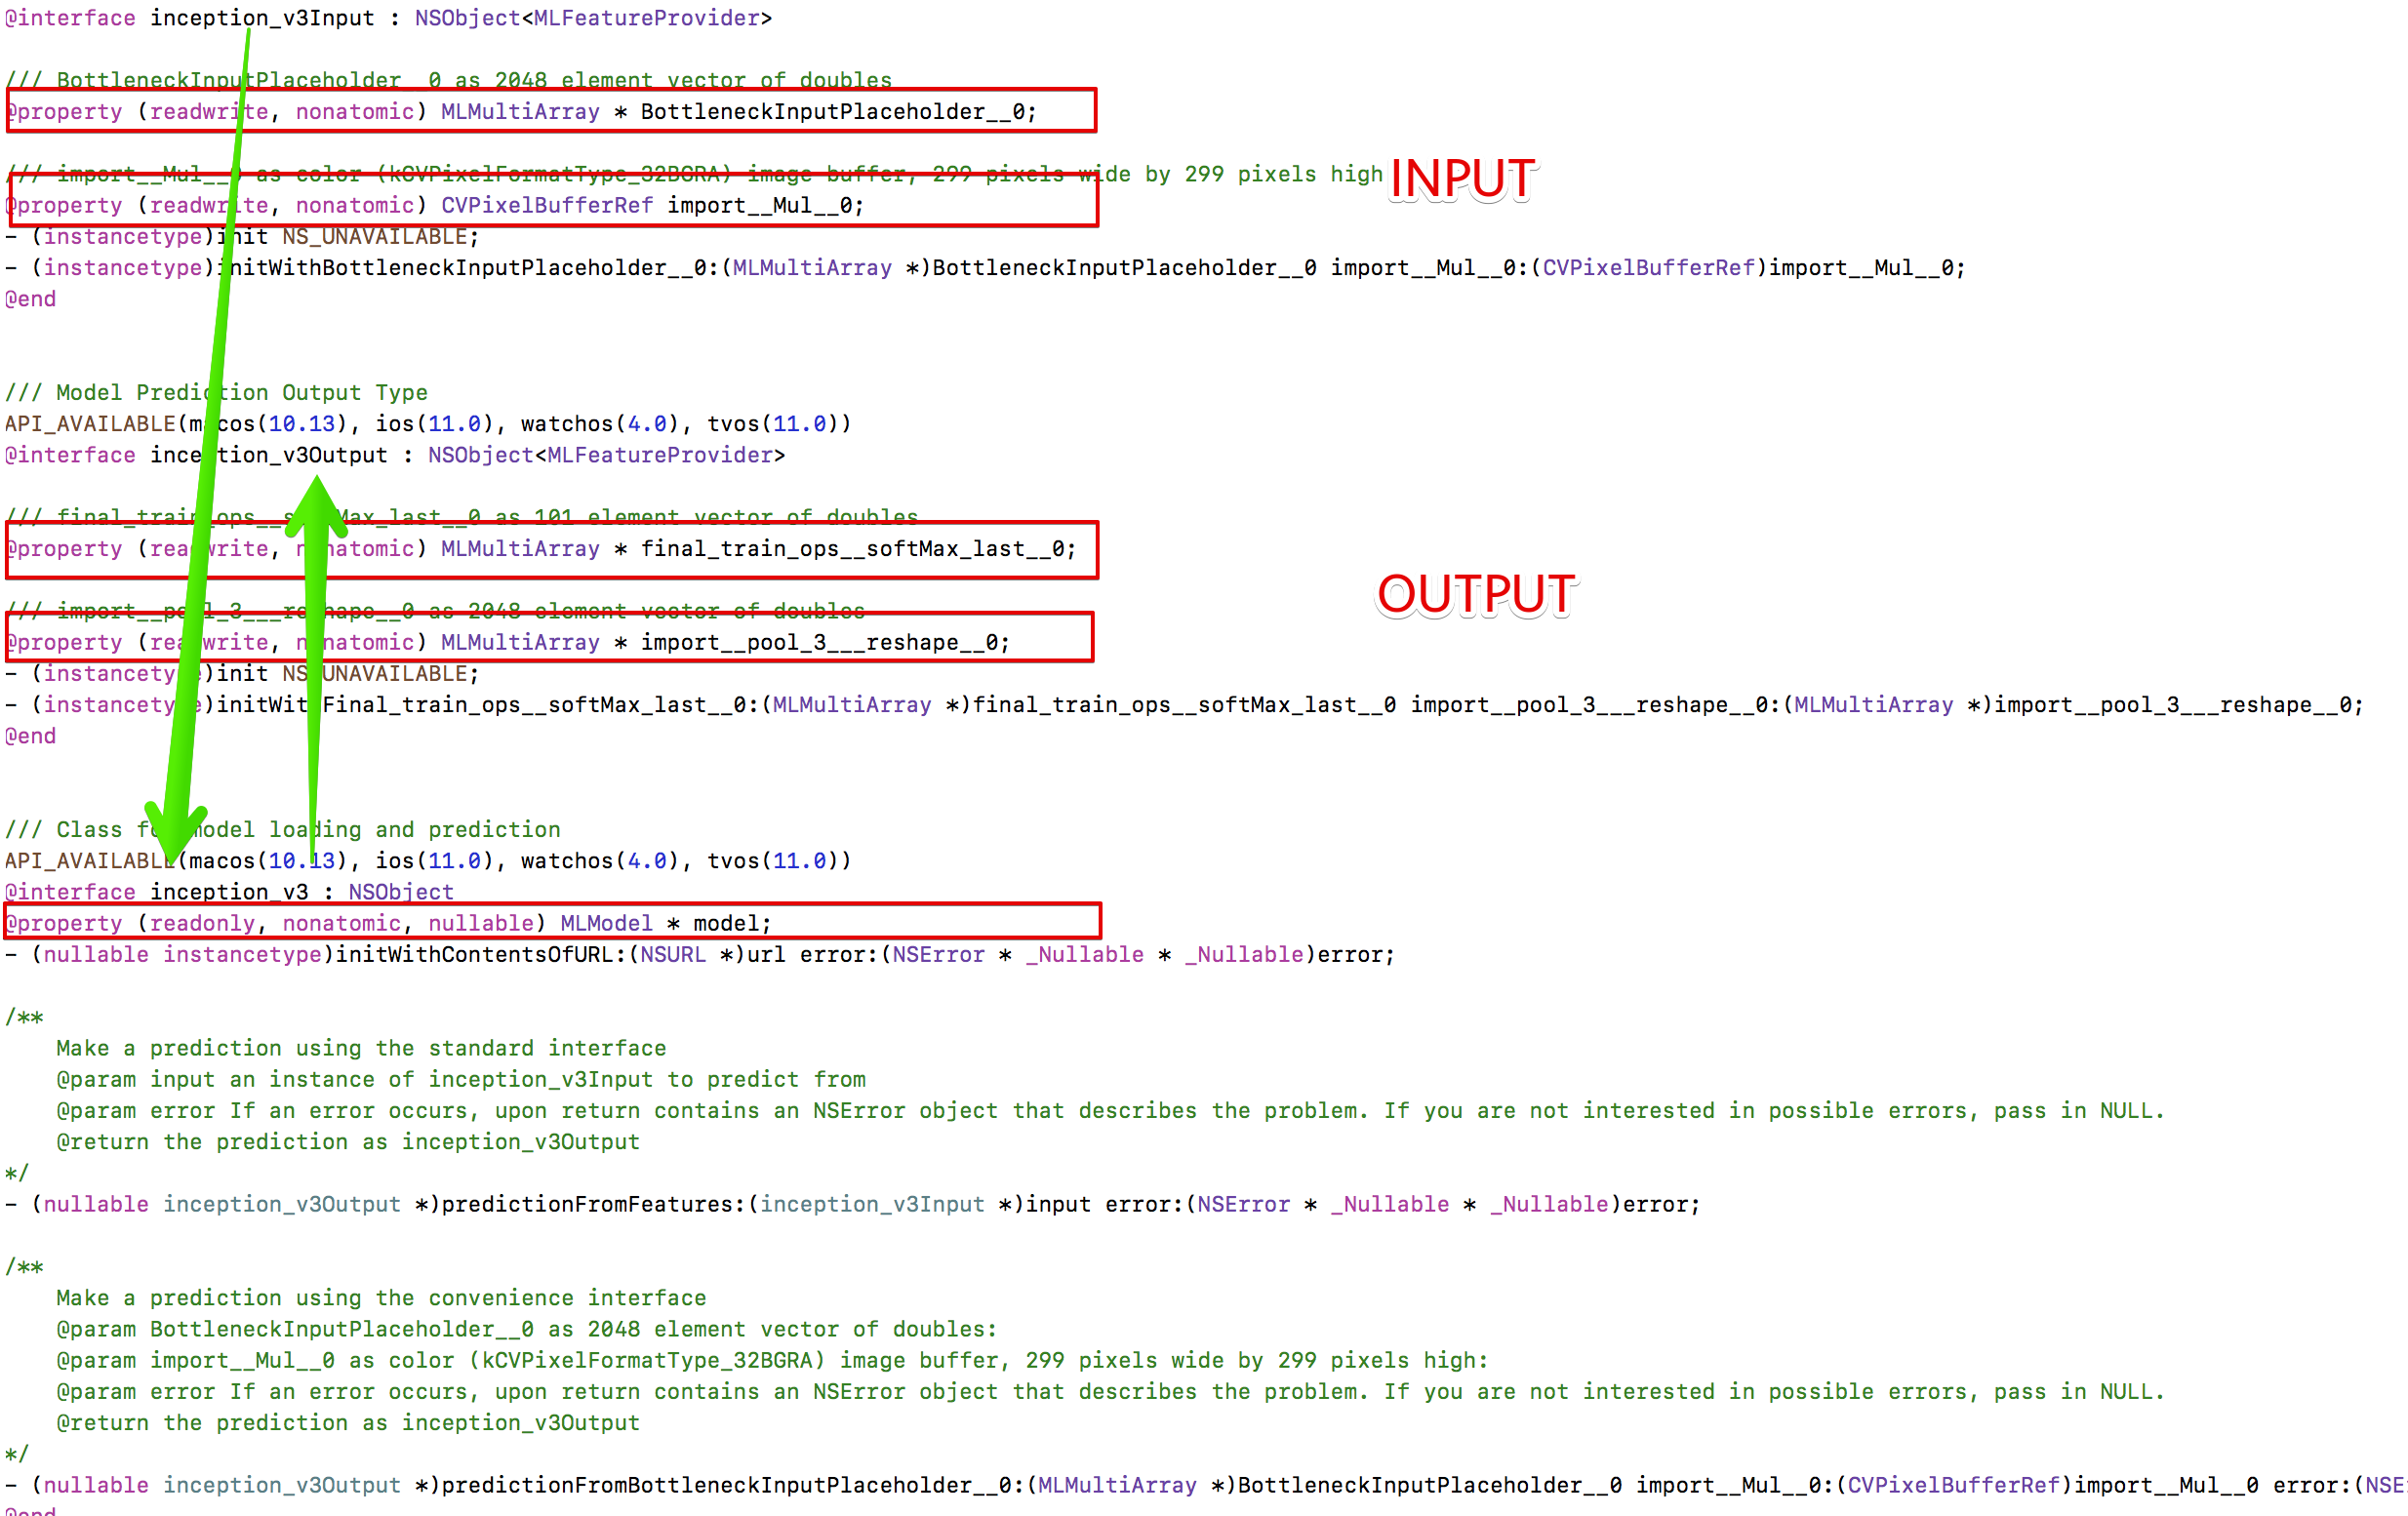
他们之间的关系是, inception_v3_input导入 -> 启动inception_v3.model训练 -> 得到inception_v3_output 分别提供了一个实例化方法.
开始代码
首先确认他们之间的调用方向 层次, 我直接是参考tensorflow加载的顺序, 只要理解了, 就可以直接调用了:
这是Python的调用方法:
1
2
3
4
5
6
7
|
poo3\_frist = sess.run(poo3, feed\_dict={inpiut\_x: image}) \# 按照模型的顺序要, 先喂给它图片, 然后图片提取到瓶颈的tensor
result = sess.run(predict, feed\_dict={change\_input:poo3\_frist}) \# 瓶颈的tensor再转入input传入, 得到我们最后的predict
|
如果参照tensorflow加载模型的做法, 我们直接是一张图片, 得到一个run到pool3, 但实际CoreML只给我们生成了一个实例方法:
1
2
3
4
5
|
\- (instancetype)initWithBottleneckInputPlaceholder\_\_0:(MLMultiArray \*)BottleneckInputPlaceholder\_\_0 import\_\_Mul\_\_0:(CVPixelBufferRef)import\_\_Mul\_\_0;
|
方法必须要传入一个MLMultiArray, 而且shape必须一致的. 最后我直接调用MLMultiArray的方法,生成一个0值的2048shape
预测部分的, 完整核心代码 均有详细的注释说明
1
2
3
4
5
6
7
8
9
10
11
12
13
14
15
16
17
18
19
20
21
22
23
24
25
26
27
28
29
30
31
32
33
34
35
36
37
38
39
40
41
42
43
44
45
46
47
48
49
50
51
52
53
54
55
56
57
58
59
60
61
|
1

2

3

4

5

6

7

8

9

10

11

12
13
14
15
16
17
18
19
20
21
22
23
24
25
26
27
28
29
|
1
2
3
4
5
6
7
8
9
10
11
12
13
14
15
16
17
18
19
20
21
22
23
24
25
26
27
28
29
30
31
32
33
34
35
36
37
38
39
40
41
42
43
44
45
46
47
|
\- (inception\_v3 \*)tfModel {
if (!\_tfModel) {
// 1 加载模型, 本身代码会调用init的时候, 方法会调用initWithContentsOfURL, 找到inception文件进行初始化
\_tfModel = \[\[inception\_v3 alloc\] init\];
}
return \_tfModel;
}
\- (NSString \*)predictWithFoodImage:(UIImage \*)foodImage
{
// step1: 标准为size, 转为可传入的参数.
UIImage \*img = \[foodImage scaleToSize:CGSizeMake(299, 299)\]; // 转换为可传参的图片大小
CVPixelBufferRef refImage = \[\[UIImage new\] pixelBufferFromCGImage:img\]; // 转换为可传参的类型
// step2.1: 由于一开始是没有BottleneckInputPlaceholder, 直接0值初始一个传入
MLMultiArray \*holder = \[\[MLMultiArray alloc\] initWithShape:@\[@2048\] dataType:MLMultiArrayDataTypeDouble error:nil\];
// step2.2: 启动预测, 预测完成后得到import\_\_pool\_3\_\_\_reshape\_\_0
inception\_v3Output \*output = \[self.tfModel predictionFromBottleneckInputPlaceholder\_\_0:holder import\_\_Mul\_\_0:refImage error:nil\];
// step3: 从第二步, 完整得到了想要的BottleneckInputPlaceholder, 直接代入, 图片也代入.
inception\_v3Output \*output1 = \[self.tfModel predictionFromBottleneckInputPlaceholder\_\_0:output.import\_\_pool\_3\_\_\_reshape\_\_0 import\_\_Mul\_\_0:refImage error:nil\];
// step4: 从final\_train\_ops\_\_softMax\_last\_\_0提取预测结果
MLMultiArray \*\_\_final = output1.final\_train\_ops\_\_softMax\_last\_\_0;
return \[self poAccu:\_\_final\];
}
|
调用摄像头进行图片获取
通过整合代码层次, 代码调用也封装好了, 方便代用:
从简书上拿到别人写好的调用摄像头拍照https://www.jianshu.com/p/62d69d89fa43, 提取了下代码:
主要逻辑:
拍照后重置大小展示到view, 异步进行模型预测, 回到主线程展示label结果.
1
2
3
4
5
6
7
8
9
10
11
12
13
14
15
16
17
18
19
20
21
22
23
24
25
26
27
28
29
30
31
32
33
34
35
36
37
38
39
40
41
42
43
44
45
46
47
48
49
50
51
52
53
54
55
56
57
58
59
60
61
62
63
64
65
66
67
68
69
70
71
72
73
74
75
76
77
78
79
80
81
82
83
84
85
86
87
88
89
90
91
|
1

2

3

4

5

6

7

8

9

10

11

12

13

14

15

16

17
18
19
20
21
22
23
24
25
26
27
28
29
30
31
32
33
34
35
36
37
38
39
40
41
42
43
44
|
1
2
3
4
5
6
7
8
9
10
11
12
13
14
15
16
17
18
19
20
21
22
23
24
25
26
27
28
29
30
31
32
33
34
35
36
37
38
39
40
41
42
43
44
45
46
47
48
49
50
51
52
53
54
55
56
57
58
59
60
61
62
63
64
65
66
67
68
69
70
71
72
73
74
75
76
77
78
79
80
81
82
83
|
//触发事件:拍照

\- (void)addCamera

{

    UIImagePickerController \*picker = \[\[UIImagePickerController alloc\] init\];

    picker.delegate = self;

    picker.allowsEditing = YES; //可编辑

    //判断是否可以打开照相机

    if (\[UIImagePickerController isSourceTypeAvailable:UIImagePickerControllerSourceTypeCamera\]) {

        //摄像头

        picker.sourceType = UIImagePickerControllerSourceTypeCamera;

    } else { //否则打开照片库

        picker.sourceType = UIImagePickerControllerSourceTypePhotoLibrary;

    }

    \[self presentViewController:picker animated:YES completion:nil\];

}

#pragma mark - UIImagePickerControllerDelegate

//拍摄完成后要执行的代理方法

\- (void)imagePickerController:(UIImagePickerController \*)picker didFinishPickingMediaWithInfo:(NSDictionary \*)info

{

    NSString \*mediaType = \[info objectForKey:UIImagePickerControllerMediaType\];

    if (\[mediaType isEqualToString:@"public.image"\]) {

        //得到照片

        UIImage \*image = \[info objectForKey:UIImagePickerControllerOriginalImage\];

        image = \[image scaleToSize:self.imageView.frame.size\];

        self.imageView.image = image;

        // 异步处理, 不要占用主线程:

        dispatch\_async(dispatch\_queue\_create(0, 0), ^{

            NSString \*preString = \[self.prediction predictWithFoodImage:image\];

            dispatch\_async(dispatch\_get\_main\_queue(), ^{

                self.preLabel.text = preString;

            });

        });

    }

    \[self dismissViewControllerAnimated:YES completion:nil\];

}

//进入拍摄页面点击取消按钮

\- (void)imagePickerControllerDidCancel:(UIImagePickerController \*)picker

{

    \[self dismissViewControllerAnimated:YES completion:nil\];

}
|
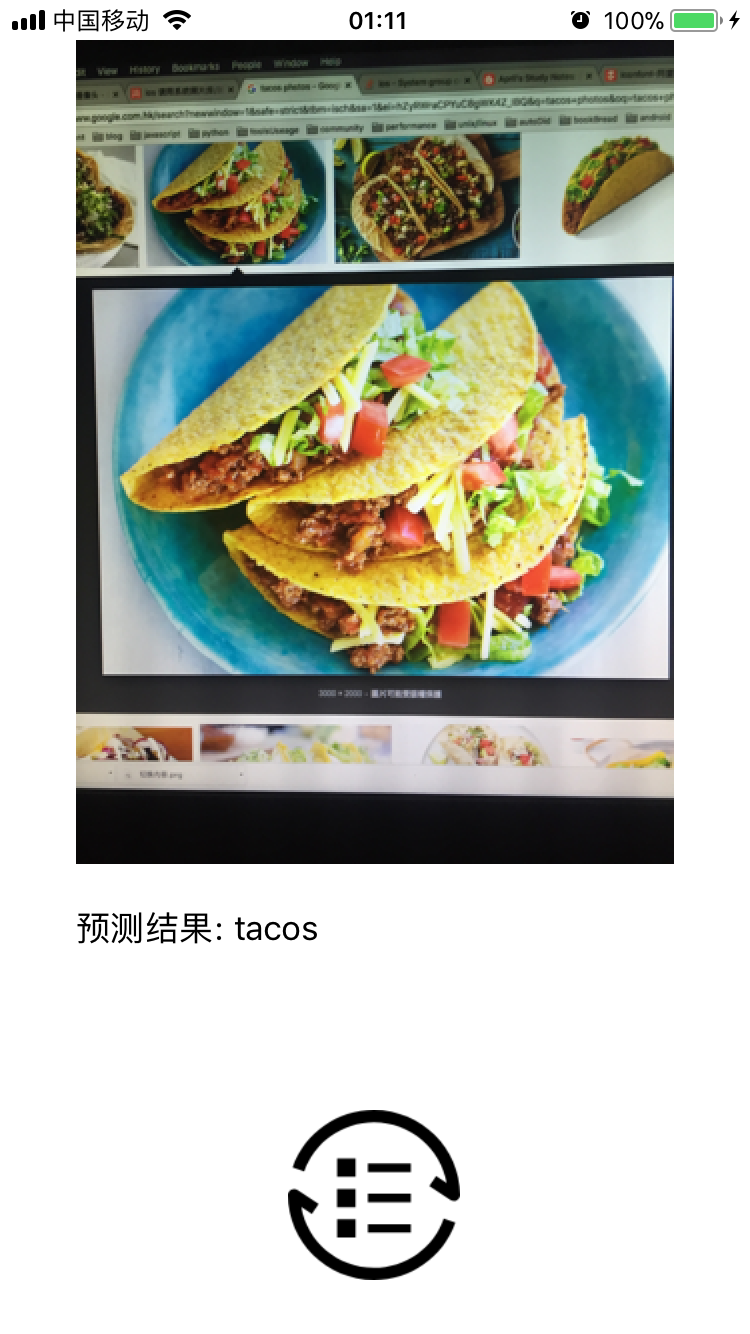
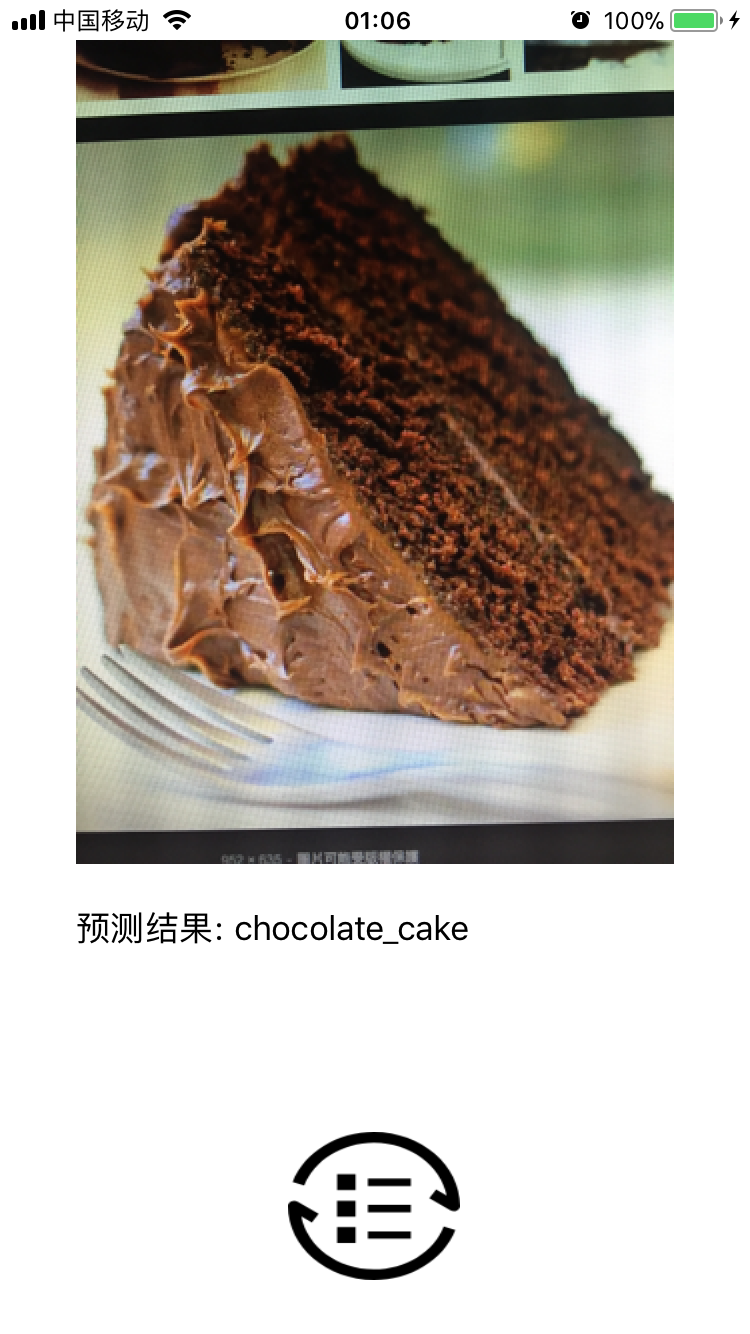
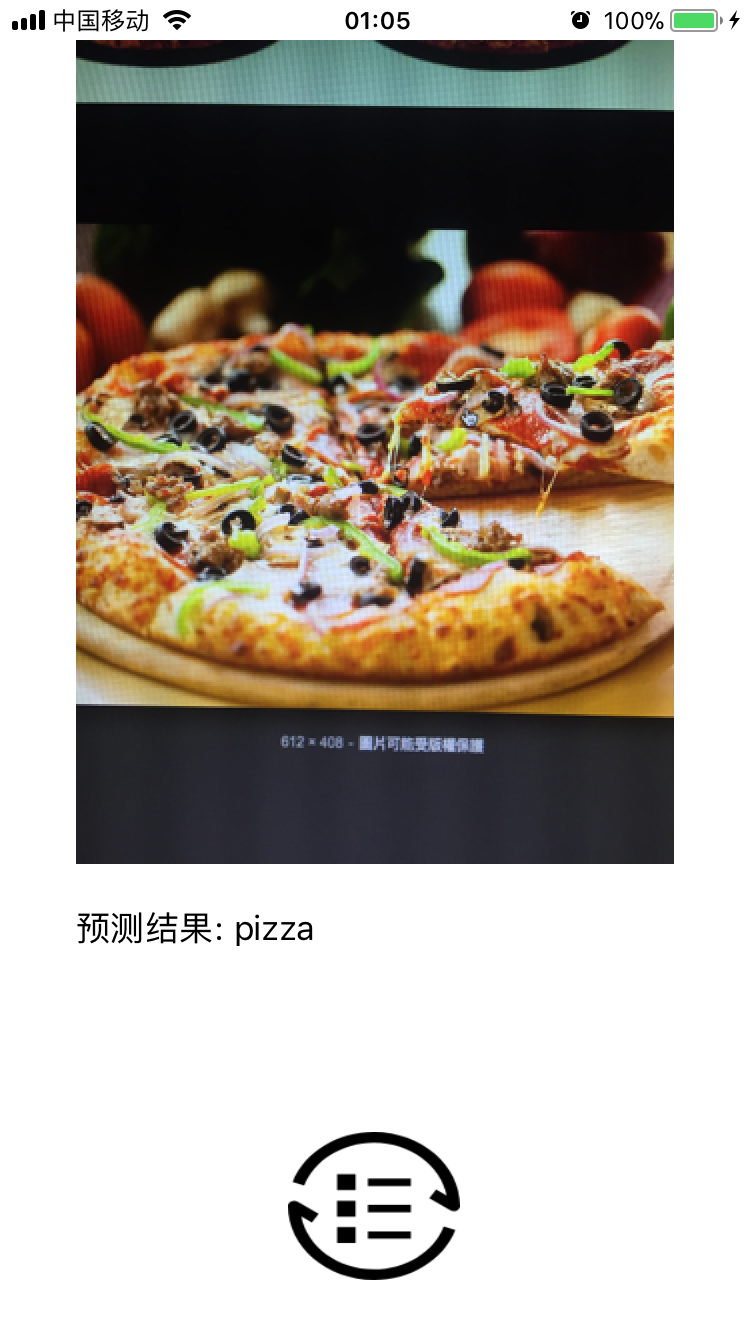
测试结果
制作gif, 直接看图片: 或者上面链接从我的git上下载源码:

[好困, 该睡觉了...]